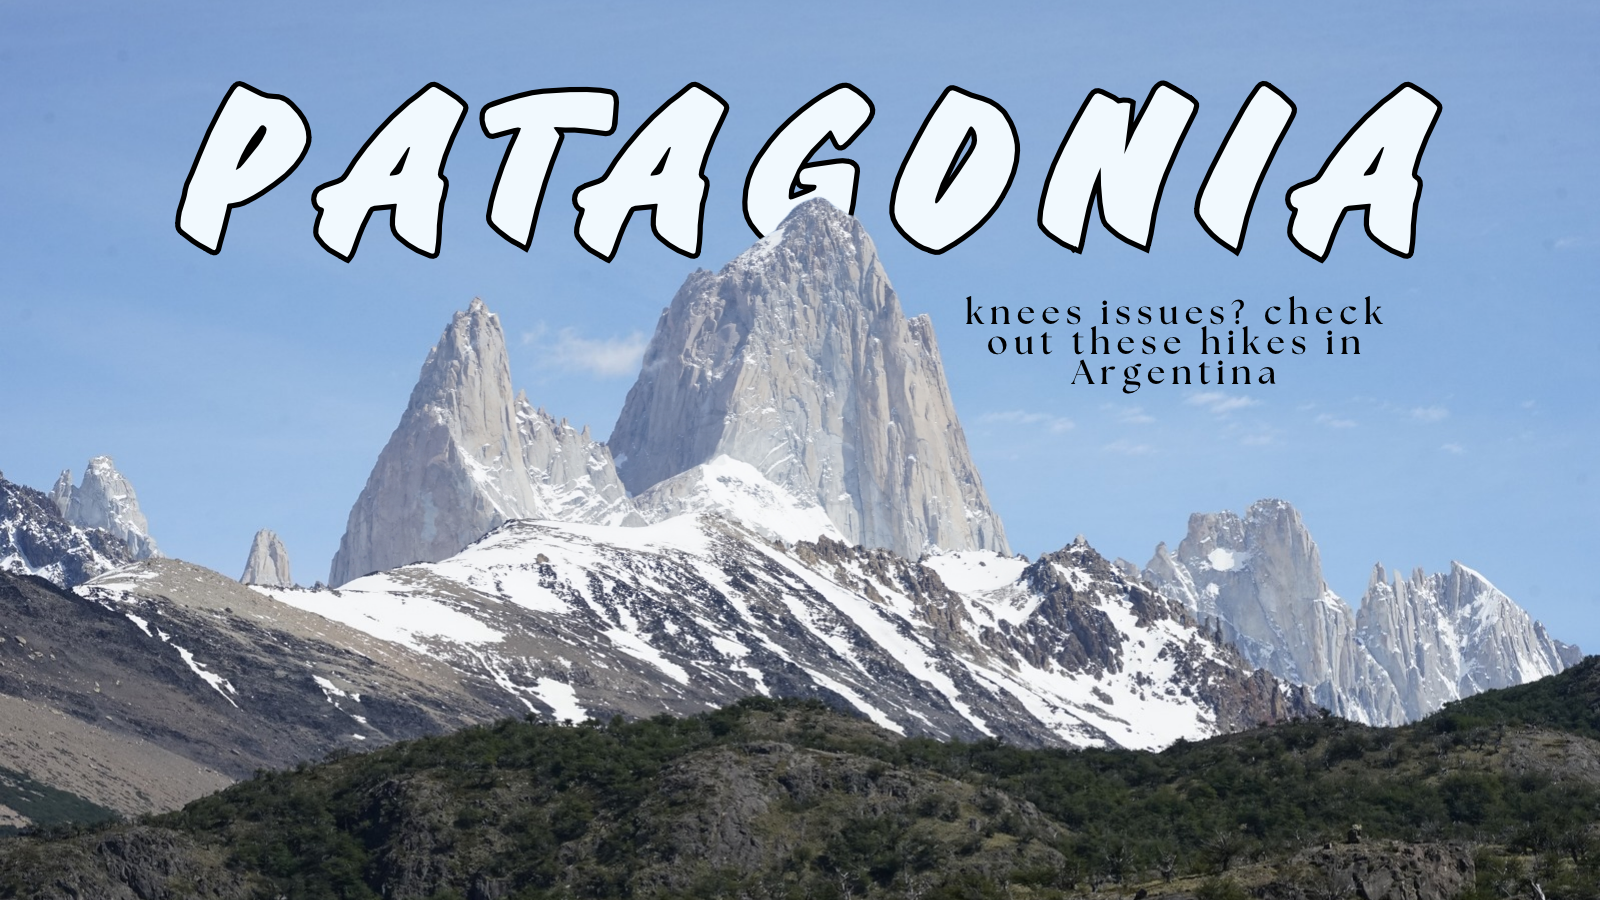
Los Glaciares National Park is the main reason why people visit Argentine Patagonia. Streatching from El Chalten in the north to El Calafate in the south, it’s Argentina’s largest national park with 30% of its area covered by ice and glaciers as part of South Patagonia’s Ice Field. It is best known for world reowned hiking trails, mountainscape and glaciers. El Chalten is nicknamed as Argentina’s hiking capital and is probably one of my favourite parts of the country.
I’ve always dreamt of hiking in Patagonia – ever since I got into hiking whilst living in Norway. I was really hyped about going… however, 18 months before my trip, I had torn my ACL in a skiing accident. I would be lying if I said I wasn’t afraid of how the hiking would be. Most trails seemed to be quite unforgiving – long distances, big elevation gains, rocky + unstable terrain. Plenty of hiking descriptions that boiled down to it’s a long day but totally worth it! or my knees are wrecked. Yikes… not exactly reassuring. So, I did what I do best: researched the heck out of it.
I worried about pushing myself too far and undoing all the work I’d put into rebuilding my knee strength. In the end, I managed quite a bit more hiking that I expected. WOOO!! I definitely made a few decisions based on my knee that I wouldn’t have done pre-injury but Patagonia was still possible for me. Some hikes were easier than others, couple of times I had to reevaluate what I considered a successful day on the trail looking like.
Now, I’m sharing what hikes I managed around El Calafate and El Chalten, what was a challenge and what I’d keep in mind if you’re planning to hike with a knee injury.
Note: Everyone’s recovery is different and your physio’s advice should take priority over anything you read on a travel blog.
Disclaimer: Some links earn me a small commission – same price for you, slightly less tragic bank balance for me.

Is Patagonia suitable for hiking after an ACL injury?
Potentially! But I don’t think there’s a straightforward answer. Argentine Patagonia isn’t one hike and even in Los Glacieros National Park, you’ve got different trips of hikes in different parts. The more useful question is “which hikes can I realistically manage at this point of my recovery”?
Before my injury, I probably would’ve looked at a hike, seen the distance and elevation and thought, yeah, that’s completely fine. Afterwards, I found myself looking at the entire experience differently. Now, I’m looking at terrain, weather conditions, how long is the overall hike, what am I planning over the next days… It’s a lot more intense whilst in the planning stage.
In my main post – Hiking Patagonia after an ACL injury* – I covered the broader considerations drawn from my personal ACL recovery experience – a ACL reality check, which if you haven’t read yet, I’d advise you do. Your own recovery, fitness and confidence will make a difference to what is manageable. Don’t take this as a list of medically approved hikes but rather it is my own experiences.
Los Glaciares National Park hikes I managed 18 mths after my ACL injury
So these are just what I managed within my own progress. Mind, everyone’s progress is going to look different. So consider this as a guideline. I’ve included the distance, elevation and difficulty. One thing worth keeping in mind is that distance and elevation only tell part of the story. A hike that looks manageable on paper can feel very different after several hours of walking, particularly when the return journey involves a lot of descending. That was something I learnt pretty quickly.
Hiking around El Calafate
El Calafate was a completely different experience from El Chaltén when it came to hiking with a recovering knee. There were definitely fewer of those this is going to take the entire day and possibly destroy my knee type of hikes, which I welcomed with open arms. El Calafate isn’t known as a hiking town but there’s some trails you could do for a nice change of pace. The main attraction here is Perito Moreno Glacier.

Perito Moreno Glacier
Best for: Seeing one of Patagonia’s biggest sights
Distance: ± 4 km
Elevation gain: ± 250 m
Difficulty: Easy
Time: 2 hours (+1 hour for sightseeing)
Because of how accessible Perito Moreno Glacier is, it’s a really easy trip to make work around your knee. There’s a network of walkways, stairs/steps viewpoints so you can spend as much or as little time walking. That flexibility makes it a great option for those of us with recovering knees. The walkways are made of wood so relatively even. There are stairs and repeated changes in elevation so if your knee is particularly sensitive to stepping down or repeated stair use, take your time and pay attention to how you’re feeling. A lift is available on-site for visitors who may need it. Maps showing different walkways and difficulty levels are found around the place.
It’s a nice day out and you don’t actually need to walk complete every walkway or trail to enjoy the glacier views. Take a shorter route, stop at the viewpoint, have some lunch and spend your time watching the glacier wall.

Laguna Nimez Nature Reserve / Lago Argentino
Best for: An easy walking day close to El Calafate
Distance: flexible depending on how much you decide to walk
Elevation gain: relatively flat
Difficulty: Easy
Time: 1 – 3+ hours depending on your route
If you’ve got some downtime in El Calafate, I’d consider spending some time by Lago Argentino. The waterfront is a great spot to stretch your legs. The ecological reserve nearby called Laguna Nimez Nature Reserve was very enjoyable. The terrain along the promenade is flat and allows you to go birdwatching and walk along the waterfront.
You get to decide how far you want to go – perfect for a recovering knee. When you’re recovering from an injury, it’s very easy to fall into the trap of thinking that a day only counts if you’ve covered a certain distance or gained a certain amount of elevation. It doesn’t. The landscape is also quite different to the mountain trails – you’re still surrounded by mountains but the focal point of your day is the lake. Sometimes a slower day outdoors is exactly what you need.
Hikes from El Chalten
This is the part of Patagonia in Argentina that most people picture when talking about iconic hikes. The majority of hiking trails expand outward from El Chaltén into the Los Glaciares National Park towards Fitz Roy, Cerro Torre, glacier lookouts and mountain views. It’s where I would plan my hikes a lot more. While many of the trails start from town, you can also arrange transportation to other trailheads.
I found AllTrails to be invaluable when trying to plan alternative routes and work out what I could realistically attempt. I wouldn’t underestimate the value of chatting to other hikers once you’re there. Trail conditions, weather and how you’re feeling on the day can all influence your plans, so it’s worth being flexible.

Mirador Cascada Margarita
Best for: A short introduction to hiking around El Chaltén. Don’t assume that a short hike is a failed hike.
Distance: ± 2 km round trip
Elevation gain: ± 70 m
Difficulty: Easy
Time: 1 – 2 hours, depending on pace and stops
This was my first trail while in El Chalten. My warm up, let’s say. Mirador Cascada Margarita sits along the same trail as Laguna Torre, but you don’t have to commit to the full Laguna Torre hike to enjoy it. The terrain itself had a good mix of loose gravel, a cleared path and unevenness. The trail climbs from El Chalten town and a noticeable elevation gain – considering I hadn’t hiked in over a year, it felt slightly overwhelming. I hadn’t done a proper hike in over a year so getting back on the mountain was an accomplishment in itself. Once I changed my mindset from can I do this? to you’ve got this, I settled into it…
This is exactly the type of hike I’d recommend to anyone who is recovering from an ACL injury – short enough that you’re not overcommitting but still feels like a good way to test the waters. I wasn’t looking for a paved tourist viewpoint. I wanted to feel like I was actually back on a trail but without overcommitting. It’s a short enough route to be a useful starting point. And honestly, don’t assume a short hike is a failed hike. Sometimes it’s exactly what you need to rebuild confidence.

Mirador Torre (Torre Viewpoint)
Best for: a solid turn around point if you don’t want to complete Laguna Torre Trail
Distance: ± 6.5 km round trip
Elevation gain: ± 220 m
Difficulty: Moderate
Time: Several hours depending on your pace
Surprisingly, I actually managed to get to this section of the hike. The trail continues on from Cascada Margarita and at the end, you’re rewarded with a view of Cerro Torre from a distance. It’s quite a nice viewpoint with benches, somewhere to catch your breath. Personally, I think this was a good point to regroup and see how my knee was feeling. I felt pretty decent by this point, so I decided to continue on to Laguna Torre
However, if you’re starting to feel pain or discomfort in your knee, this is a pretty nice spot to turn around from. Alternatively, just a kilometer or two, you’ll get a nice view of a valley with Cerro Torre in the distance. Either way, don’t feel the need to push yourself beyond your capabilities!

Laguna Torre
Best for: A longer day once you’re confident with shorter hikes.
Distance: ± 21 km round trip
Elevation gain: ± 550 m
Difficulty: Challenging
Time: 6+ hours moving time
I felt so chuffed to complete this hike… much to my surprise. It’s one of the classic hikes from El Chalten, taking you to a lagoon with unmatched views of Cerro Torre and the surrounding glacier landscapes. It is a continuation of the same trail as Cascada Margarita and Mirador Torre. What I liked most about this route is that after reaching Mirador Torre, the climb towards the lagoon wasn’t too overwhelming. Some sections are relatively flat or have a gentle incline.
My main issue was the distance. With a recovering knee, the issue was the cumulative effect of several hours of walking. I felt fantastic on the way and about 75% of the way back. However, the constant declines eventually took a toll on my knee – more than I would like to admit. But I took it slow and had my husband cheering me on – that definitely helped. It was a good reminder that even though I felt good at the halfway point, it didn’t necessarily mean that I would feel the same by the end of it.
How I managed
-
- Keeping my pace deliberately slow
- Taking breaks before I felt exhausted
- Paying particular attention to how my knee felt on descents
- Being prepared to turn around if it was getting too much
The important thing here (that I really needed to reiterate to myself) is that reaching the end isn’t the only measure of whether you had a successful hike.

Laguna Capri
Best for: Fitz Roy views without fully committing to Laguna de los Tres
Distance: ± 10 km round trip
Elevation gain: ± 410 m
Difficulty: Challenging
Time: 4+ hours moving time
Looking for a more manageable option for seeing the iconic views of Fitz Roy? Then Laguna Capri is worth considering. It’s not an easy stroll from El Chalten, through. It’s a constant uphill climb with over 300 m elevation gain over 3 km. Definitely not flat by any means. I found the decline back to El Chalten was more demanding on my knees, especially after hiking fatigue. It felt quite satisfying going on a proper mountain trail and realising that this was possible. Mentally, I spent so much time worrying whether I’d be able to hike in Patagonia at all that being out there and doing it felt like the real achievement.
Note: we didn’t do Laguna Capri as an standalone hike. It was part of a point-to-point hike that included the Laguna Capri trail on our way back to El Chaltén. I’ll cover that route in a separate post because I think it deserves a closer look. Genuinely, I think it might be the best hike in the region.

Campamento Poincenot (before the final push to Laguna de los Tres)
Best for: Experienced hikers further along in ACL recovery but rather not commit to the climb
Distance: ± 18 km point to point
Elevation gain: ± 480 m
Difficulty: Challenging
Time: 6+ hours moving time
And then there’s Laguna de los Tres. The hike to rule them all. This is the Fitz Roy hike. It was the hike I thought – yea, maybe this trip isn’t going to happen. I remember thinking how devastating it would’ve been to travel all the way to Patagonia and not get to see one of the iconic landscapes…
The full route is long, the final section is a killer – steep rough rocky climb and involves a scramble. The last push is a 5 km round trip with a close to 500 m incline. However, it wasn’t just this section that posed an issue. It was also a combination of distance, fatigue, steep terrain, uneven surfaces and descent. My knee could probably handle each component individually but together created a different challenge.
Before starting the hike, I had to get into the right mental headspace. I’m not a quitter by nature, accepting that I shouldn’t push myself to summit was difficult. We had gotten to Campamento Poincenot and didn’t attempt the final climb to Laguna de Los Tres. In order to trick myself from feeling like a failure, I actually took a different route so that it wouldn’t have felt like all that effort was “for nothing”. We went from El Pilar and hiked to the basecamp, past Laguna Capri before arriving back at El Chalten.
Would I call Laguna de los Tres ACL-friendly?
NOT AT ALL. Look, could someone well into their ACL recovery complete it? Absolutely. Would I recommend it purely because someone on the internet managed it – NO. Even hiking 18 km with almost 500m elevation gain was an accomplishment for me. Thankfully, I wasn’t in the mindset that I needed to complete the hike to feel accomplished.
The most important factor here is knowing how far to push yourself. There are alternatives and viewpoints along the trail system that may not give you the iconic viewpoint BUT it’s darn close to it. Personally, I’d much rather hike 10 km, enjoy myself and finish with a knee that feels good than drag myself through 20+ km because I was determined to tick a box.
If hiking Patagonia is high on your list, don’t assume this means you can never do it. Just be realistic about your own recovery, the demands of the route and whether this is the right time to attempt it.
What I learnt about hiking El Chaltén with an ACL Injury
The biggest lesson was to change my mindset. Before my injury, I generally assumed once I started a hike, I’d always complete it (unless bad weather or something forced me to turn back). That approach didn’t make sense in Patagonia, especially with a recovering injury. Since the accident – I’ve been overly cautious and worried about reinjury, so even some basic hikes would scare me. The goal wasn’t trying to get back immediately to everything I was doing pre injury. It was to rebuild my confidence and remember that I could always change my plans. I needed to trust myself, analyse the trail and make sure I knew that I had the option of turning back.
It sounds so simple enough… but when you go from being unstoppable to not fully trusting your body, it’s a strange and unfamiliar place to be in. Having someone who understands your boundaries can also help. Especially if you’re like and the type of person who gets caught up in the adrenaline and needs to complete a goal. My husband was great at cheering me on and didn’t pressure me to keep going when my knee needed a break.

My personal tips for hiking El Chaltén after ACL injury
Don’t start with your bucket-list hike
Use your first hike as a test. See how your knee responds to the terrain, elevation and descent before committing to a huge day.
Pay attention to the descent
You might feel fantastic going uphill and then discover that your knee has very different opinions about coming back down. Go slowly. Don’t race the people walking past you. Honestly, take breaks if you need it.
Think about total load, not just elevation
A moderate hike that takes six hours can be more demanding than a short hike with a steeper climb. Distance and overall fatigue do matter on your body.
Don’t confuse discomfort with something you should push through
There is a difference between tired legs and your knee telling you something isn’t right. You don’t get bonus points for ignoring the latter. You’re also in the mountains, if something were to go wrong, you’re not in the easiest place to get help.
Give yourself permission to turn around
This is probably the hardest one. Especially when you’ve travelled halfway around the world to see any of the Patagonia sights. But turning doesn’t mean the hike has failed – you’ve just succeeded at listening to your body.
Leave a Reply