Woohoo! You’re going to Antarctica, how exciting! Your cruise is booked, the dream feels real… now comes the main question: what on earth do I pack for Antarctica?! I was exactly in your position a few months ago… multiple tabs open, different advice from different people, constant fear of over or under packing. It’s tricky because Antarctica isn’t a place you can “pick something up later”…
I’m back. After sailing to Antarctica + South Georgia + Falklands, making a few mistakes and analysing what was in my backpack. Including everything I brought, wished I brought and what didn’t earn a spot in my backpack. I’ve put together THE ULTIMATE Antarctica Cruise Packing list I wished I’d had before.
Whether you’re packing for a classic expedition to Antarctica or a longer cruise to the Falklands and South Georgia, packing smart isn’t just a convenience but more of an essential. Hopefully, you’ll learn from my mistakes and have a much easier time packing 🙂
Logistics of getting to Antarctica
Before even starting to pack, let’s start here. Most cruises depart from Ushuaia, Argentina. Depending on your operator, you’ll either have a chartered flight or you’re getting to Ushuaia independently with FlyBondi / Aerolineas Argentinas / LATAM etc.
This actually matters how you pack as baggage limits vary wildly. Chartered flights allow 23kg check baggage whereas domestic Argentine flights has a 15kg checked baggage limit.
Important to do: Check what your baggage limit is!
Good to know: if you are over the weight limit, you can pay for the extra at the counter.
We flew with Aerolineas Argentinas and had a 15kg limit. We were also continuing our journey to Patagonia and through South America so we had to be quite ruthless with packing and only pack things that would work in multiple climates.

Temperatures in Antarctica
When packing, the common misconception is…. this is the coldest place on earth… there’s snow everywhere. it’ll be cold!
Now, let’s think through this. It’s the Southern Hemisphere summer… So while you think it might be colder, it is actually warmer than you think. But maybe this is my Norwegian-ness coming through. We did our expedition mid October – early November so early on in the season. For us, the weather hovered between -2 to 3℃ on the Antarctic Peninsula itself and we mainly had overcast weather. We had some nice sunny days on South Georgia and Falklands so there the weather was 0 to 10℃.
Of course, on top of these, you should consider windchill. It didn’t feel any colder than -5℃ in the wind.
The later you go in the season, the warmer it’ll be. Mid November to Mid February is generally warmer in Antarctica. I’d say going by the rule of thumb of -2 to 5℃, I think is a safe bet.
The Essential Antarctica Cruise Checklist
This is exactly what I personally packed for a 22 day Antarctica + South Georgia + Falkland expedition cruise. If you’re doing a shorter itinerary, you might be able scale this back. But the principles stay the same. 😉
Note: I live in Norway (and am half Norwegian). This system is a tried and tested system for when I am roaming in my own backyard in winter. I found this is what works best for me. It’s not too dissimilar to what I would pack in below -20 degrees as layers is key!
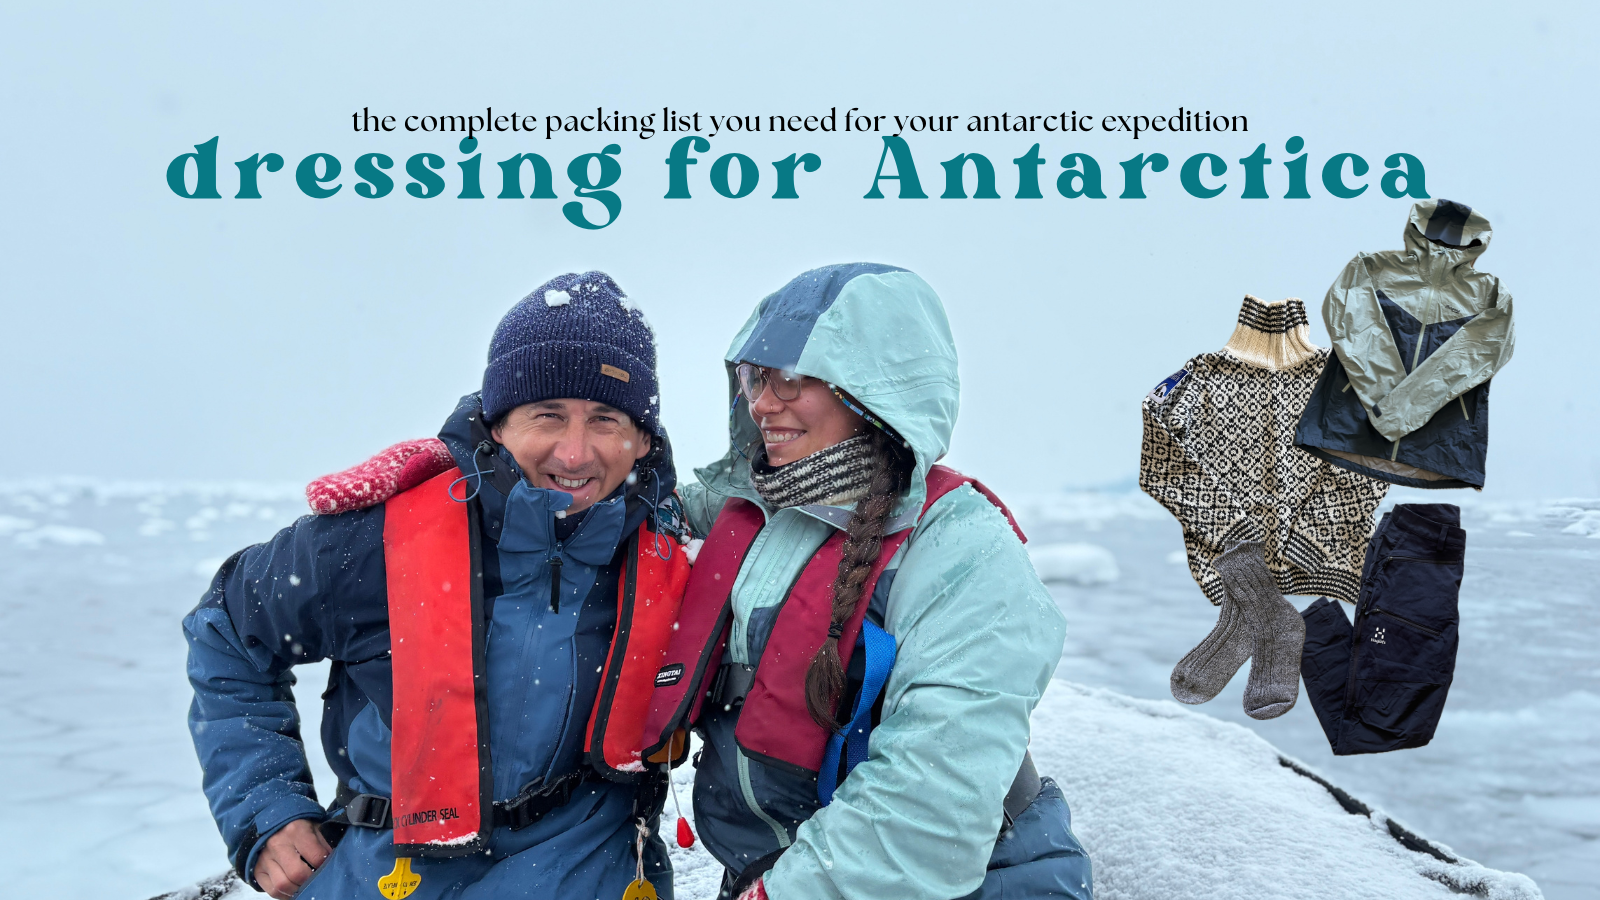
Clothing Layers: The Non-Negotiable System

Weather can fluctuate so much, like many cold climate locations, Antarctica is all about layering. It’s not just about having one giant jacket and you’re good!
Base Layers (Next-to-Skin)
Base layers are what go right on your skin. It’s highly recommended that it be wool, ideally. If you’re allergic to wool or looking for a more affordable option, synthetics are a good alternative. The main reason it is wool is that once it gets wet (rain or swear), it stays cold rather than keeping you warm.
- Thermal top base layers (x 2 tops). Use merino wool or synthetic. My trusted set is from
- Thermal bottom base layers (x 2 tops). Wool or synthetic. I only wore my bottom base layer on super cold days with high wind chill.
Cardinal Rule: Try to avoid wearing any cotton base layer.
My trusted go-tos: Devold or Kari Traa. I love Kari Traa – it’s a women by women Norwegian brand.
Mid Layers (Warmth Control)
Your next layer would be a mid-layer. It’s what helps trap or regulate your body heat. I tend to run warm, especially while doing an activity, so I alternate between two types depending on the weather forecast. These layers shouldn’t be skin tight, nor should they be too big. Ideally, you have enough wiggle room – the space is what creates these warm air pockets/insulation.
- Mid bottom layer: Hiking trousers. I mainly wore my hiking pants.
- Mid top layer: either or
- Fleece sweater (x 1). Better when doing activities (walking, hiking) or on milder days.
- Wool sweater (x1). Better for wind chill and heat retention.
OPTIONAL but not necessary:
- Puffer Jacket. I had my puffer for Patagonia hiking but it was nice to alternate this out on deck.
Outer Layers (Weather Protection)
Your final layer of protection: your shell/outer layer. It is designed to protect against wind, rain and snow. They are commonly Gore-Tex material (or similar). Mine personally is a hard shell layer: meaning it is non-insulated, lightweight, breathable and it relies on my mid layer to retain warmth.
Note: Other travellers (including my husband) wore an insulated ski jacket or ski trousers. If you already have one, you might want to wear that instead! Everyone is different 😉
Note: if your cruise provides a parka, don’t bring a jacket!
- Waterproof/windproof shell jacket (Gore-Tex or equivalent): The piece de resistance to my layering system. My cruise did not provide a parka but this system works for me.
- Waterproof overpants: All our zodiac landings were wet landings, meaning you step into the water. So these are essential. I rented a pair and so glad I did.
Footwear:
- Thick wool socks (x 2 pairs): I used standard wool ski socks. Knee high is best for warmth and comfort.
- Muck Boots: Waterproof, calf-height boots – often provided onboard. However, if you want them insulated and guaranteed in your size, I’d say you’re better off renting a pair in Ushuaia.
- Casual closed toe shoes/slip ons: for onboard lounging.
Accessories & Cold Weather Gear (Small Items, Big Impact)
These were some items that I basically had with me on every landing. I played around with what I wore to make myself comfortable for the weather conditions.
- Glove liners: I didn’t use my mittens or waterproof gloves but I lived in these liners! Gave me the warmth needed and the dexterity for my camera.
- Wool beanie and/or Fleece Ear Warmer: You lose a lot of body heat through your head so this helps keep you warm. I brought both and alternated depending on the activity and weather conditions.
- Buff/neck gaiter: Helps block any wind from coming into any gaps between your layers and face.
- Polarised sunglasses: Protect yourself from snow blindness – the UV glare off ice is intense.
OPTIONAL but not necessary:
- Snow goggles: Useful on brigh or windy days.
- Hand & feet warmers: especially if you get cold easily
- Waterproof or Ski gloves / Wool Mittens: As a photographer, I found this to be more of a hassle. I never used mine but I saw plenty wearing theirs! Only wore my wool mittens on zodiac cruises.

Zodiac & Landing Essentials (This Is Where People Get Wet)
- Waterproof daypack or drybag (20–25 L): I found it more comfortable using my normal daypack for my camera equipment. I just kept everything safe in a drybag.
- Bum bag / small pouch for Zodiac rides
- Waterproof phone case
Ideally: Use a waterproof day pack as regular backpacks soak through fast (especially in the rain) but use what makes sense for you.
Onboard & General Items
- Reusable water bottle: water onboard is free. It’s a lot easier having a bottle.
- Seasickness remedies: Drake Passage, enough said.
- Travel adapter
- Power bank: The cold drains your batteries quickly. Worth having a backup so your phone doesn’t die and you miss something incredible!
- Swimmers/Bathers! Your ship might have some facilities or better yet… the polar plunge! You’ll definitely want this.
Don’t underestimate the sun:
- Sunscreen: You can still get burnt when the sun isn’t fully out.
- Lip balm with SPF: The air can be dry.
- Moisturizer: The dry and cold weather can be brutal on your skin if you’re not used to it. Also wind chill can be brutal.
OPTIONAL but not necessary:
- Waterproof phone case
- Lanyard for your phone: I was so scared of losing my phone each time I took it out on the boat or on the zodiac!
- Cosy wool socks: There is a lot of downtime on the boat. I loved feeling cosy in the lounge.
- Earplugs & eye mask: If you’re sharing cabins, it might be a nice idea. There are blackout curtains onboard so I was fine without.
- Eyewear cords: I was gifted one by a fellow passenger and it was a life saver! I was always so scared my glasses would fall off my face when I dangled my head off the side of the boat/zodiac…
For my fellow avid Photographers: Camera Gear
- Camera: You don’t need the latest camera. But make sure you use something you’re familiar with.
- Telephoto lens: I swear by my Tamron 150-500mm lens so much. Perfect for upclose or wildlife shots.
- Standard zoom lens: To capture landscapes.
- Waterproof cover: Couple of landings had rain. While it was annoying to use, it did allow me to use my camera without worrying too much.
- Spare batteries: The cold drains them so fast. I brought 5 spares.
- Fast battery charger: This year I invested in a fast charger. Worth it.
- Extra memory cards + SSD storage: I don’t think I need to elaborate.
- Lens cloths: Lots of salt spray, snow, rain, anything on the lens.
- Lens Blower + Lens cleaning pen: I was constantly changing my lens. Sometimes a bit of dirt, dust or hair would get in. Annoying on the photos.
- Camera case: I caved and bought one. It made my life so easy as I could use it with any backpack.
- Camera Clip/Camera Strap: my camera lives on my camera clip. It gives you the option of being hands free but with quick/easy access to your camera.
Toiletries
Our ship provided us with shampoo/conditioner as well as a little toiletries kit. However, I personally like certain products so we brought our own!
- Feminine products: You could probably purchase these on board but I brought my own supply.
What Many Ships Provide (Rental or Included Gear): Always Confirm
Important to do: Check with your cruise operator, what equipment is provided or available for rent. Never assume as inclusions vary between operators.
- Waterproof boots: Check if they are insulated muck boots or just waterproof.
Alternatively, you can rent insulated muck boots in Ushuaia. - Waterproof parka: Some operators gift you a branded parka.
Alternatively, can be rented in Ushuaia or bring your own system. - Waterproof overpants / rain pants: Not commonly provided but strongly recommended.
Rent a pair in Ushuaia! - Binoculars: There are a limited supply onboard. You might be able to share with other travellers or purchase your own little one if you want constant access.

Pack Smarter, not more!
Here is a couple of things I wish someone told me before I started packing… Or things I think are a good reminder.
- Check what’s provided by your operator BEFORE packing. Don’t assume.
- Drybag + waterproof daypack = essential. Zodiac rides can be hectic, the weather plays up. Just make sure whatever your bag system is, works for wet conditions.
- Protect your camera gear. I mean, a little bit of a no brainer but bring that waterproof cover and the extra batteries. Cold drains power fast and you don’t want to miss wildlife moments.
- Layers. Layers. Layers. Base layer + mid layer + waterproof outer. Don’t rely on one big coat. Trust me!
- Skip fashion statements. Pack for functionality. Expedition ships usually lean casual. Fancy clothes aren’t needed. I look like a dirtbag but my clothes are fit for purpose!
- Pack light, then pack smart. Use packing cubes, drybags and a soft travel bag (hard suitcases are cumbersome on small ships).
- Respect biosecurity rules: Clean your gear, no loose fibres or seeds are on it.
How Smart Packing Reflects Responsible Travel
Antarctica isn’t just another sunny beach destination. It’s a fragile, pristine wilderness and every piece of gear you bring influences not just your comfort but the safety, logistics, and environmental footprint of the voyage.
Packing smart, avoiding impulse buys, and preparing for worst-case weather means:
- You stay safe, dry, and warm
- You minimize waste and risk of losing gear
- You respect biosecurity rules (no contamination)
- Travelling responsibly in one of the last untouched places on Earth
Good packing doesn’t just improve your trip… It protects the continent itself.
Pack Smart, Travel South
Packing for Antarctica can feel overwhelming and honestly, that’s normal! It’s remote, unforgiving, and there’s no “I’ll just grab it later” option once you’re south of the Drake Passage.
But if you take one thing away from this guide, let it be this: pack for function, not fear. Focus on layers, waterproof protection and versatility. Confirm what your operator provides, avoid doubling up on bulky gear and prioritise items that keep you dry, warm, and mobile.
After sailing through Antarctica, South Georgia, and the Falklands, I can confidently say that smart packing made the difference between simply seeing Antarctica and fully experiencing it. The right gear means more time on deck, more wildlife moments, more comfort during landings, more enjoyment and fewer worries overall.
Antarctica is one of the last truly wild places on Earth. Packing responsibly doesn’t just benefit you, it helps protect the fragile ecosystems you’re there to witness.
Pack smart. Travel thoughtfully. And get ready for the adventure of a lifetime.

Leave a Reply